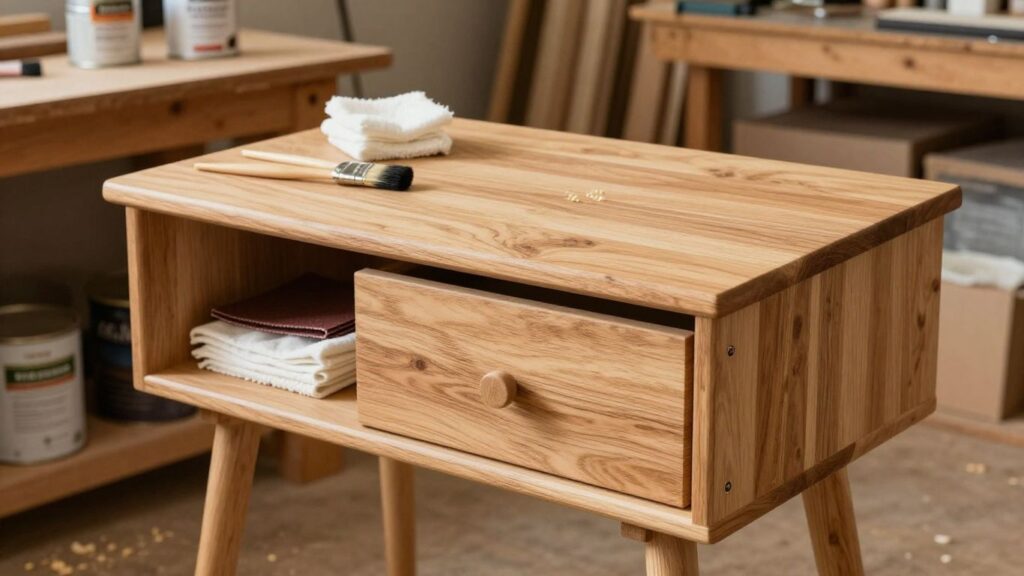
Wood finishing basics: A beginner’s guide to making wood look ridiculously good
Key Takeaways
Good wood finishing basics are less about fancy products and more about patient preparation, sensible testing, and thin, even application.
- Identify the timber before choosing colour or finish.
- Sand enough to create a clean surface, but do not polish the life out of the grain.
- Test every colour and finish on scrap first.
- Apply several restrained coats rather than one heroic, dripping layer.
- Give the piece time to cure before judging the final result.
Start with the wood, not the finish
Wood is not a blank canvas; it already has a colour, texture, smell and personality. Before we open a tin, we look closely at the timber and decide what it is trying to do. The right finish should support that character rather than bury it under a shiny puddle. These wood finishing basics begin with observation, not shopping.
Identify the species and its natural character
We start by identifying the timber as accurately as we can, while accepting that reclaimed boards and mixed projects may contain surprises. Pale, open-grained woods behave differently from dense, close-grained species, and some timber darkens dramatically when wetted. A clean offcut gives us a better clue than a catalogue photograph. If the species is uncertain, we treat the test piece as the authority.
Read the grain, pores, and problem areas
Raking light reveals scratches, glue spots, planer marks and uneven pores that ordinary room light politely hides. We run our fingertips across the board as well, because a surface can look smooth while still feeling rough. End grain may absorb colour quickly, while knots and resinous patches can resist it. Knowing where those areas are lets us plan instead of blaming the finish later.
Test on scrap before committing
A scrap board from the same timber is our rehearsal stage. We sand it in the same way, apply the proposed colour and finish, and wait long enough to see how the surface actually develops. A wet coat can look far richer than the dried result, and a second coat may shift the colour more than expected. Ten minutes of testing can save an afternoon of regret.
Decide whether to showcase or disguise imperfections
Not every mark needs to be erased. Small knots, mineral streaks and changes in tone can make a handmade piece feel alive, while a deep gouge on a tabletop may deserve repair. We decide whether the surface is meant to look quiet and uniform or honest and varied. The wood sets the brief, and our finish should not argue with it.
Prep the surface without sanding away your weekend
Preparation is where a respectable finish is won or lost. We are not trying to make timber clinically featureless; we are creating an even surface that will accept colour and protect the piece. That means removing manufacturing marks, smoothing scratches and getting rid of anything that could interfere with adhesion. A little method here prevents a great deal of touching up later.
Choose the right sandpaper sequence
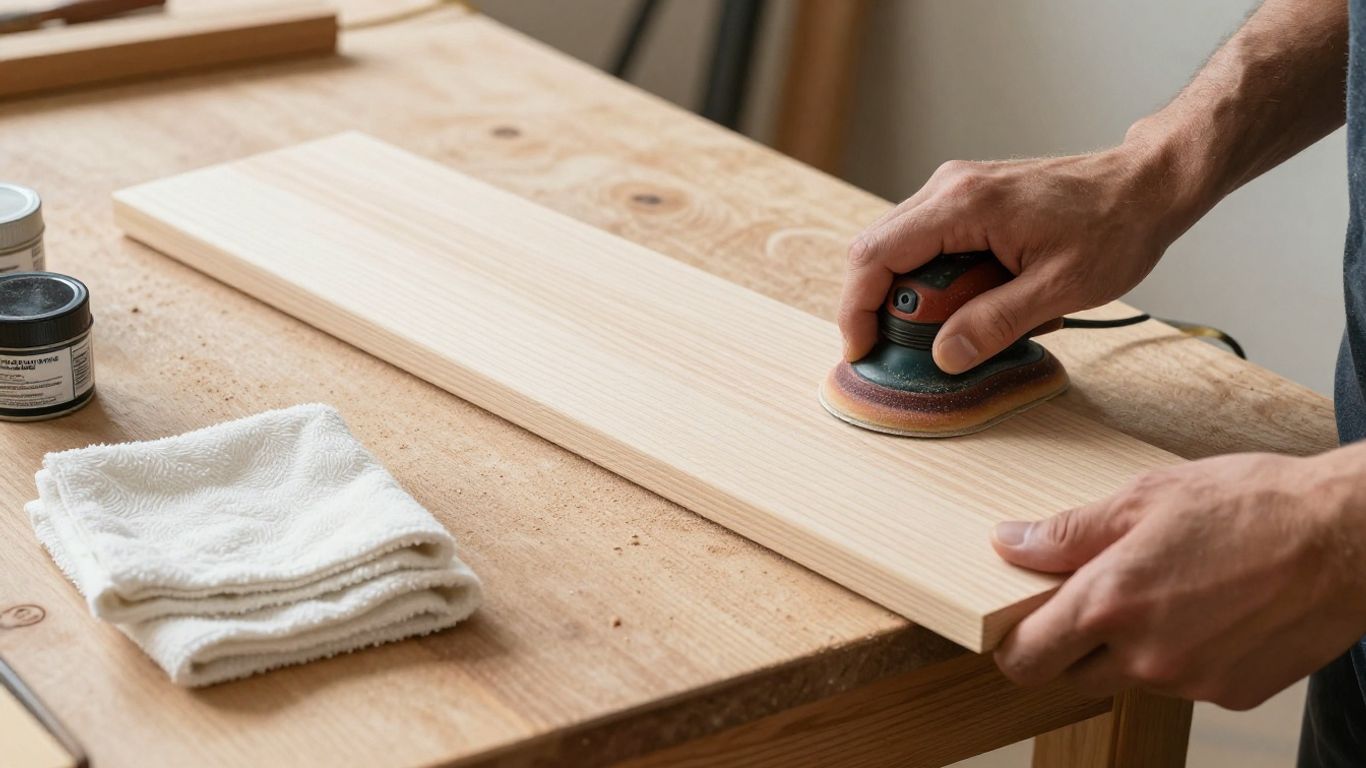
We choose the first grit according to the defects, not habit. Coarse paper removes damage faster but leaves deeper scratches, so we move through progressively finer grits until those marks disappear. On a sound, machined board, starting too coarse only creates extra work. We inspect under angled light between stages rather than sanding on faith.
Sand with the grain and between coats
On broad faces, we sand with the grain and use a flat block where the surface allows it. This keeps stray cross-grain scratches from becoming little arrows pointing at our impatience. Between finish coats, the goal is usually to knock down dust nibs and roughness, not to remove the coat entirely. A light touch is more useful than enthusiastic elbow grease.
Remove dust, oil, and fingerprints
A clean surface must be free of sanding dust, workshop grime and fingerprints. We vacuum carefully, brush out corners and use a clean cloth suited to the product we are applying. We avoid touching the prepared face with bare hands when possible, because skin oil has a remarkably strong opinion about adhesion. Our simple pre-finish sequence is:
- Vacuum the bench and the piece, including joints and recesses.
- Inspect the surface under a bright, low-angle light.
- Wipe with a clean, compatible cloth and allow any moisture to evaporate.
- Move the piece onto a clean support before opening the finish.
This sequence is deliberately boring, which is exactly why it works. If dust appears in the first coat, we know to improve the cleaning routine rather than endlessly blaming the brush.
Handle dents, scratches, and raised grain
Shallow dents may respond to careful moisture and gentle heat, while deep damage usually needs sanding or filling; we test any repair on scrap first. Scratches must be removed rather than disguised, because colour tends to collect in them. If water-based products raise the grain, we can lightly dampen and sand the bare timber beforehand, then remove the resulting fuzz. The aim is a surface that feels consistent from edge to edge.
Pick a finish that fits the project
Finish selection is a practical compromise between appearance, protection, application method and future repairs. A soft decorative box does not need the same treatment as a kitchen stool or a frequently handled handrail. We also consider whether we want a natural feel, a deep sheen or a film that stands up to everyday knocks. The prettiest finish in the tin is not automatically the right one on the furniture.
Compare oils, waxes, varnishes, and water-based finishes
Oils tend to enrich the grain and leave a tactile surface, while waxes can add a soft sheen but may offer limited protection on hard-working surfaces. Varnishes build a protective film, and water-based finishes often preserve lighter timber with less colour change. Each family has its own drying behaviour and application quirks. We compare them by the job they must perform, not by the promise on the label.
| Finish type | Typical visual effect | Useful strength | Watch for |
|---|---|---|---|
| Oil | Richer colour and visible grain | Simple, tactile application | Longer drying and limited film protection |
| Wax | Soft sheen and smooth feel | Easy final polish | Not ideal for heavy wear or standing water |
| Varnish | Clear protective film | Good general durability | Runs and brush marks if applied too heavily |
| Water-based finish | Clearer, lighter appearance | Fast recoating in suitable conditions | Raised grain and visible dust nibs |
This comparison is only a starting point. We still read the product instructions, check compatibility and test the result on the actual timber. A finish that looks wonderful on oak may behave quite differently on a pale softwood.
Know when shellac or lacquer makes sense
Shellac can be useful when we want a quickly building, polished-looking film, while lacquer suits situations where its application equipment, ventilation and product instructions can be followed properly. Neither is a magic shortcut for poor preparation. We treat both as workshop materials that demand careful handling and a suitable environment. If the conditions are not right, we choose a simpler route.
Balance appearance, durability, and ease of repair
A delicate oil finish may be easy to refresh, whereas a tougher film can provide better resistance but require more involved repairs when damaged. We decide which compromise matters most for the piece and the people using it. A mark on a side table may be acceptable; repeated water and heat on a dining surface are less forgiving. Durability is part of the design, not an afterthought.
Match the finish to furniture, trim, or high-touch surfaces
For furniture, we think about hands, cups, cleaning and occasional knocks. Trim may prioritise a consistent sheen and easy cleaning, while a high-touch surface benefits from a finish that feels pleasant as well as protective. We pay particular attention to edges, corners and handles because those areas wear first. The use of the object should guide the finish more than fashion does.
Add color without creating a blotchy mess
Colour can make a project sing, but it can also expose every uneven patch in the timber. We keep the test board nearby and remember that wiping time, absorption and the number of coats all affect the result. There is no prize for achieving the darkest possible brown. A controlled, slightly understated colour usually looks better once the piece is in a room.
Understand the difference between stain, dye, and paint
Stain generally colours the surface while leaving much of the grain visible, though the exact result depends on the product and timber. Dye can produce a more even or vivid colour because it behaves differently in the fibres. Paint forms an opaque layer and largely hides the grain. We choose among them according to whether the timber itself is part of the visual design.
Use conditioner on thirsty woods
Some woods absorb liquid unevenly, especially across end grain and softer areas. A compatible pre-colour conditioner may reduce that patchiness, but it also changes how strongly the colour develops. We follow the product directions and test the complete sequence rather than assuming conditioner is universally helpful. Even absorption is useful only if the final colour still suits us.
Control color with coats and wiping time
We apply colour in manageable sections and keep track of how long it sits before wiping. Longer contact often means stronger colour, but it can also create overlaps and dark edges. Several modest applications give us more control than one dramatic flood coat. We allow each stage to dry as directed before deciding whether another coat is actually needed.
Make grain pop without turning it into a zebra
Contrast should reveal the grain, not make every pore shout across the room. We use restraint around open pores, end grain and figured areas, and we avoid scrubbing colour into one region while barely touching another. A clear protective coat can deepen the effect, so we judge the coloured timber both on its own and after the planned finish. Subtlety is not boring; it is often what makes the work look expensive.
Gather tools and set up a finish-friendly workspace
Finishing rewards a tidy little corner more than a heroic workshop. We need enough room to move around the piece without brushing against it, and enough light to see wet edges and stray dust. Before starting, we arrange tools, supports and waste materials so we are not searching through drawers with a wet brush in hand. The fewer surprises, the calmer the coat.
Choose brushes, rags, pads, or sprayers
Brushes suit many finishes and allow us to work into edges, while rags and pads can be useful for wiping products and controlling thin applications. Spraying can produce a smooth result but requires suitable equipment, practice and careful control of overspray. We select the simplest tool that gives us an even coat. Clean tools matter more than expensive ones.
Control dust, airflow, temperature, and humidity
Dust is easiest to manage before it lands in the finish, so we clean the area and avoid unnecessary movement once application begins. Gentle airflow can help with fumes and drying, but a strong breeze may carry dust onto the wet surface. Temperature and humidity affect working time, so we stay within the product directions rather than guessing. The workshop does not need to be glamorous; it needs to be predictable.
Label products and track drying times
We keep products in their original containers, note when a coat was applied and record anything unusual about the conditions. This prevents the classic mystery of wondering whether the surface has dried for an hour or since Tuesday. A small notebook is enough. Clear notes are especially useful when a finish needs several coats with different waiting periods.
Store materials safely between coats
Lids go back on tins promptly, brushes are cleaned according to the product instructions, and used rags are handled with care. We keep materials away from heat, sparks, children and pets, and follow the label for disposal and storage. We do not leave a crowded bench to become a fire or trip hazard. A neat pause makes the next coat much less dramatic.
Apply the finish like you meant to do that
Application is a rhythm: load the tool, spread the product, even the surface and move on before it starts to tack. We work in manageable areas and resist returning to a patch simply because it looks interesting. Most finish problems come from too much product, too much fussing or poor timing. Calm hands make better surfaces.
Build thin, even coats
Thin coats dry more predictably and are easier to level than thick ones. We load the brush or pad modestly, spread the finish with the grain where practical and leave the surface alone once it is even. Several controlled coats create depth without burying the edges and details of the piece. The first coat may look underwhelming; that is not a crisis.
Keep a wet edge and avoid lap marks
We plan our route before starting so one section can flow into the next while the edge remains workable. Overlapping a drying section creates a visible band, especially on broad panels. If we need to stop, we stop at a natural break rather than halfway across a tabletop. Good lighting helps us see where the wet film ends.
Sand lightly between coats when needed
Once the coat is ready for sanding, we use fine abrasive pressure just sufficient to remove nibs and roughness. We clean the dust thoroughly before recoating. If the surface is already smooth and the instructions do not call for sanding, unnecessary abrasion can do more harm than good. We are levelling the finish, not starting the project again.
Fix drips, bubbles, brush marks, and runs
A fresh drip is usually easier to correct than a cured one, so we inspect the surface while the finish is still workable. We can draw excess material away with a lightly loaded tool, then leave the area alone. Bubbles may come from agitation, heat or overworking; brush marks often come from a heavy coat or repeated brushing. Once dry, we level the defect carefully and continue with a thinner application.
Cure, protect, and maintain the finished piece
A piece can look finished while still being vulnerable. We give the surface time to harden, keep it away from demanding use and avoid judging the final sheen too early. Maintenance then becomes simple: clean gently, protect the surface from predictable hazards and repair small damage before it spreads. Fine furniture does not need constant fussing, just sensible treatment.
Tell the difference between dry, recoatable, and fully cured
Dry usually means the surface no longer feels wet, while recoatable means another layer can be applied without disturbing the first. Fully cured means the finish has developed its intended hardness, which can take considerably longer. We follow the product instructions and avoid placing heavy objects or exposing the piece to water too soon. A fingerprint in a soft finish is an unfortunate signature.
Buff or polish for the right level of sheen
Some finishes look best left alone, while others can be gently rubbed or polished once properly cured. We use a compatible method and start conservatively on an inconspicuous area. Gloss is not automatically superior to satin, and a soft sheen can suit timber beautifully. The right result is the one that lets the piece remain pleasant to look at and touch.
Protect the surface from water, heat, and sunlight
Coasters, mats and sensible placement do more for longevity than dramatic promises on a label. We wipe spills rather than letting them sit, avoid placing hot objects directly on the surface and remember that strong sunlight can alter colour over time. Felt pads can protect contact points, provided they are clean. Prevention is quieter than repair and usually much cheaper in effort.
Repair wear before it becomes a full-blown furniture mystery
We inspect high-use areas occasionally for dull patches, scratches, loose edges or small water marks. Early repairs may involve cleaning, a light recoat or careful local correction, depending on the finish. We identify the original product before adding anything new, because incompatible layers can create a second problem. With patience and a test area, ordinary wear rarely needs to become a household saga.